ADOT lab performs tests on dirt and rocks
ADOT lab performs tests on dirt and rocks

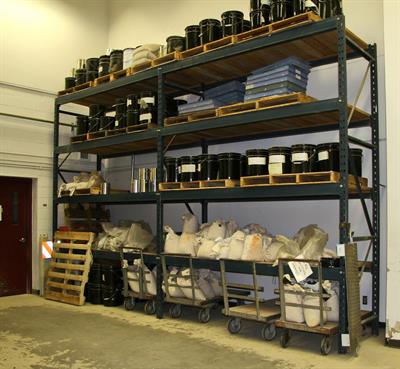
Soil and aggregate samples are delivered to the ADOT lab.
ADOT’s Soil and Aggregate lab is an interesting place, especially if you like rocks and dirt as much as we do...
This is where samples from the field are brought for analysis. The tests performed here identify a material’s properties and characteristics – information that is vital for geotechnical engineers, road designers and construction crews.
So many tests
Before we get too far, we want to point out that ADOT tests all sorts of materials at various points in the design and construction process (and even after construction, too).
We blogged about ADOT’s pavement materials testing group last year and will eventually blog about structural materials testing and the other types of testing that falls under the umbrella of ADOT’s Materials Group.
But, for today’s purposes, we’re just going to focus on the soil and aggregate lab and some of the work its technicians do prior to road design.
It all starts here

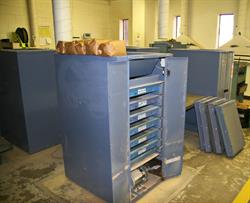
A view of the Coarse Room.
Soil and aggregate (a.k.a. dirt and rocks) are delivered to the lab’s logging area. The samples are checked in and given a lab number. Samples also are tagged with a list of the tests that need to be performed.
After being logged in, a majority of the samples will head to the Coarse Room.
This is where technicians perform the sieve analysis – a test that will assess a sample’s size gradation.
Basically, the material is sent through a series of different sized sieves (or screens). ADOT technicians will record the weight of the material retained by each sieve (which range from coarse to very fine).
The end result is a profile of the material’s size properties.
Plasticity Index testing

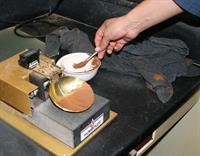
A demonstration of the liquid limit test, which, along with a plastic limit test, helps determine the sample's PI.
There are a couple of tests that are performed in ADOT’s Soil and Aggregate lab that determine a sample’s Plasticity Index (PI).
The PI can help engineers determine whether or not the soil is suitable for building a road on. A high PI means the material is soft and clay-like – any additional moisture will make the ground mushy, which isn’t ideal if you’ve got a road to build. A sample with a low PI can be problematic, too.
Engineers know what PI to look for when designing a road. And, if the soil conditions aren’t perfect, the dirt can be treated to make it better for building.
R-Value
This test takes three days to complete and requires specialized equipment. It’s important because it tells road designers how much pressure the soil can handle. This value helps determine if a thicker pavement will be needed or whether a thicker aggregate sub-base is necessary.
Proctor Test
The Proctor test is a way to figure out the maximum dry density and optimum moisture content for a soil. That information is used to determine how much the soil needs to be compacted before building can occur.
That’s not it…
This is by no means an exhaustive list of what the lab is responsible for, but it should give you a basic idea of what the team does.

